무료체험이벤트를 진행하는 로제타 스톤 화상영어 어플을 소개해드릴게요.
지난 25년 이상 전세계 교육 기관과 기업, 그리고 개인 고객들의 신뢰를 얻어온 로제타 스톤의 새로운 1:1 미국인 화상 영어 회화를 소개합니다.
앱 런칭 기념, 미국인 1:1 화상영어 100분 무료체험 이벤트!
appfing.com
미국인처럼 영어로 능숙하고 자신있게 대화하고 싶다면,
언제 어디서나 내가 고른 시간과 주제로 진행되는 화상 대화를 통해 잠들어있는 영어 실력을 깨우세요!
[ 로제타 스톤 화상 영어 회화만의 특징]
1. 일회 25분 - 다양한 회화 주제를 가지고 원어민 강사와 직접 대화하며 영어 말하기 자신감 UP!
2. 수백개의 회화 주제 - 비지니스, 일상 생활, 상식 등으로 이루어진 수백개의 회화 주제 자유롭게 선택 가능!
3. 100% 미국인 선생님 - 철저한 선발과 교육 과정을 거친 숙련된 언어교육 전문가들로, 말하기 뿐만 아니라 발음 교정, 문법 개선, 어휘력 증대까지 OK!
4. 언제 어디서나 쉽게 - 언제 어디서나 쉽게 시작할 수 있으며, 일정이 허락하지 않는 경우 바로 취소 가능!
5. 1:1 강사 피드백 - 매 회화 이후 강사의 직접적, 구체적 피드백부터 이후 복습 가능한 단어 및 숙어장, 복습 기능 제공까지!
6. 100분 무료체험 - 총 100분, 12만원 상당의 수업 무료체험 이벤트 중!
영어회화를 저렴하게 공부하시려는 분들에게 추천드려요.
#영어회화 #화상영어 #영어회화어플 #화상영어어플
'IT' 카테고리의 다른 글
| 거장들의 투자공식 (0) | 2019.09.25 |
|---|---|
| 임신부와 육아맘의 필수 앱 [맘스다이어리] (0) | 2019.09.24 |
| 아이폰 11사전예약 출시 신청 이벤트 (0) | 2019.09.23 |
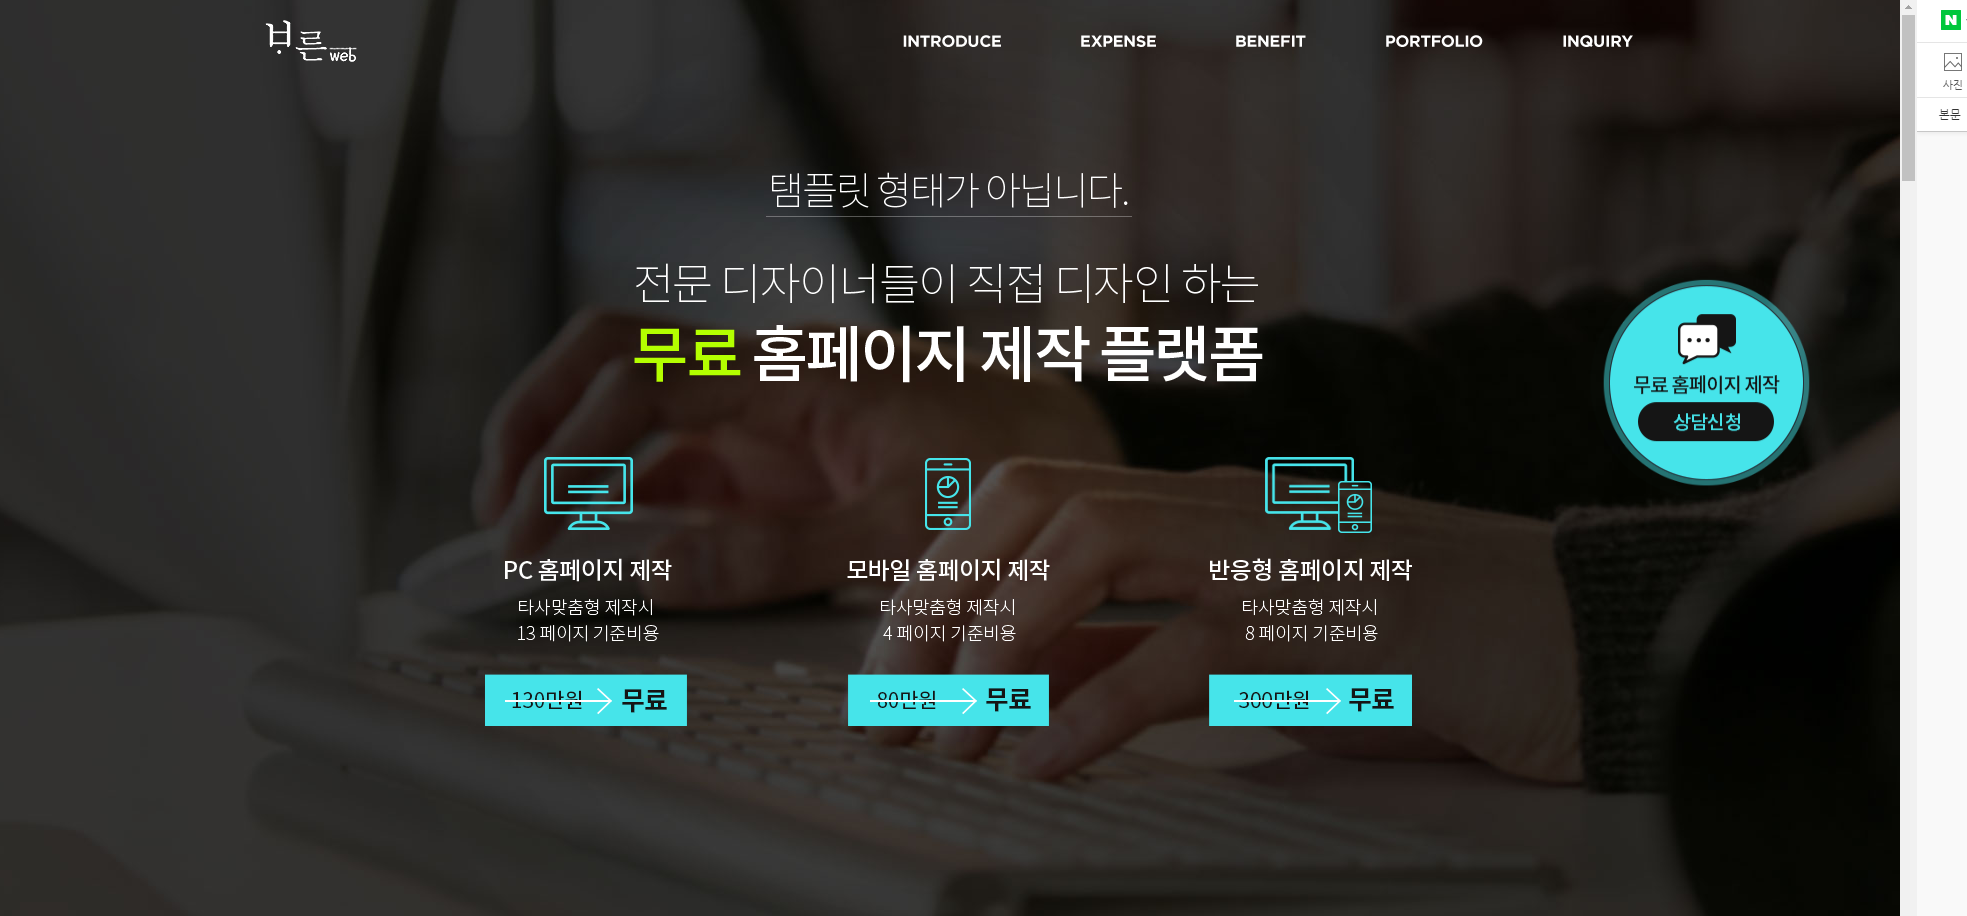
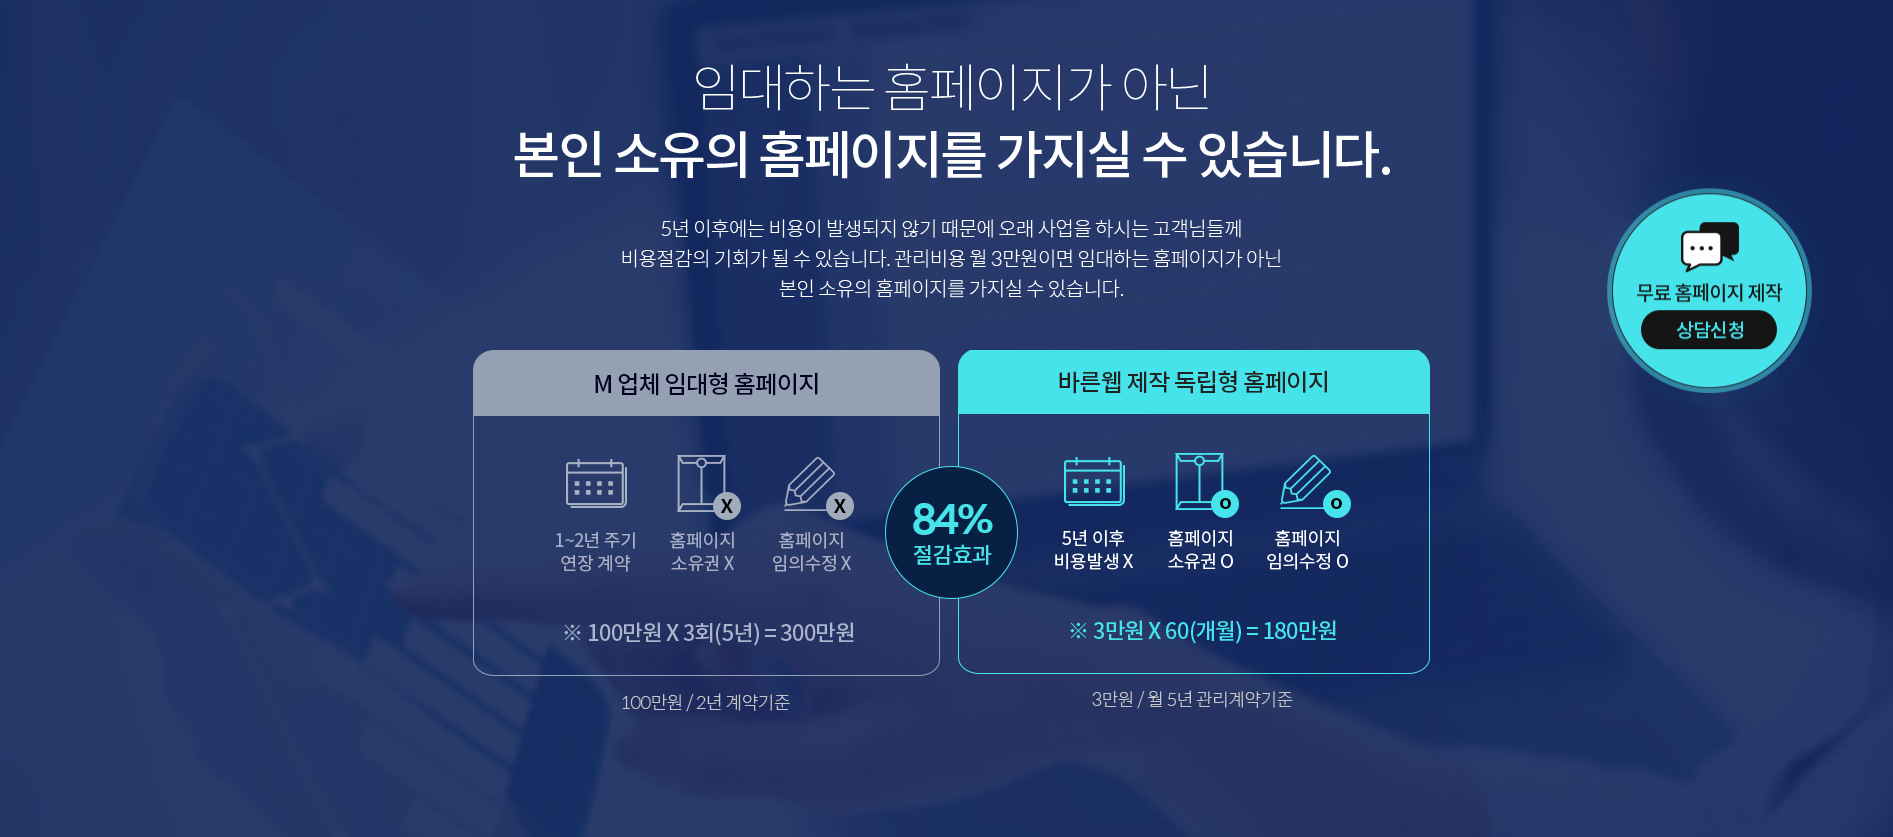
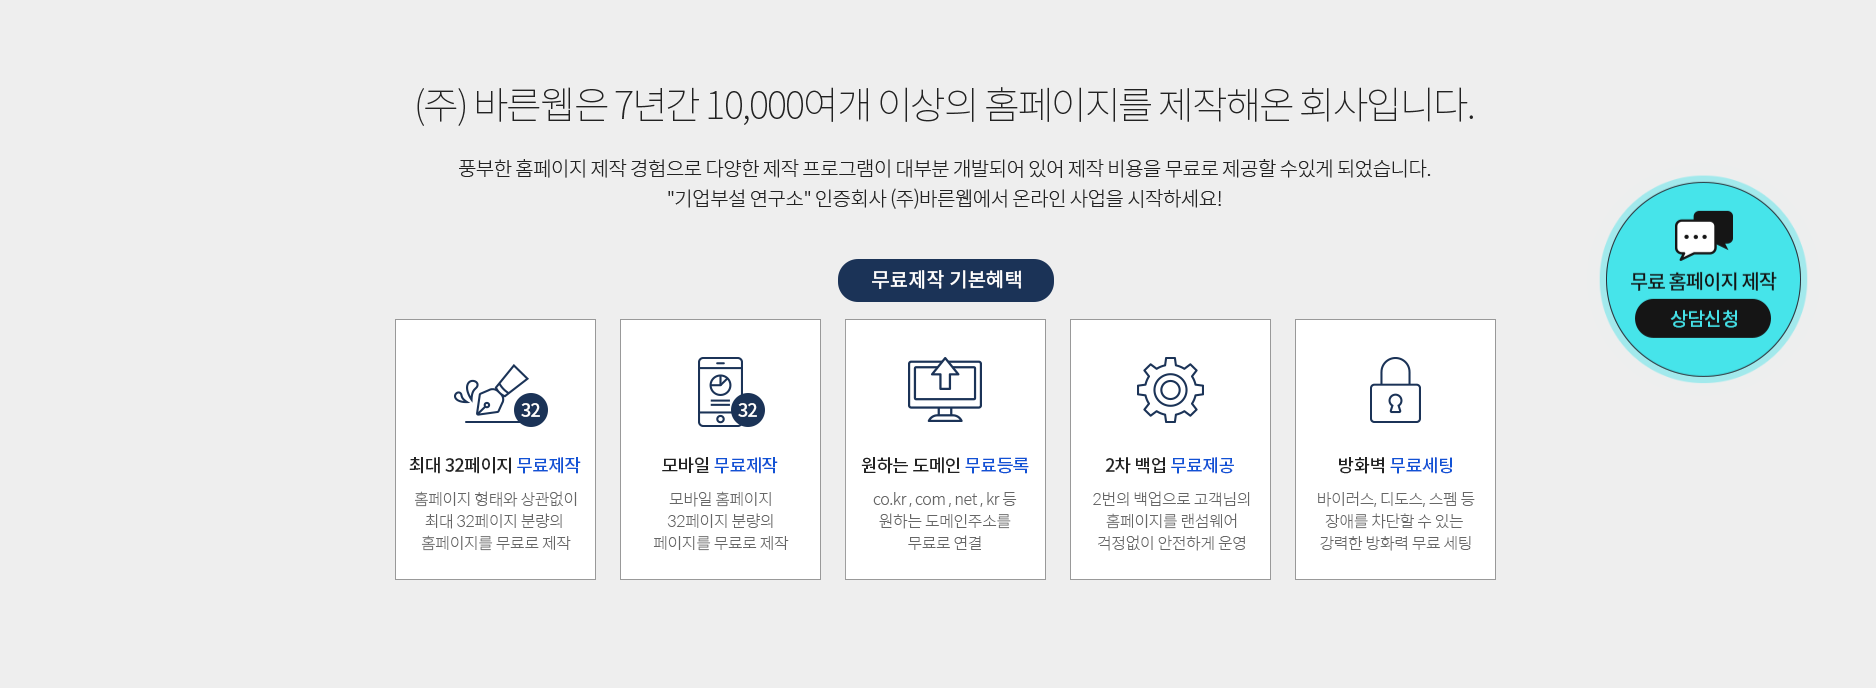
| 무료 홈페이지 제작 지원 (0) | 2019.09.19 |
| 스마트폰 낚시게임 추천 (0) | 2019.09.16 |